Photographing the Milky Way (Part 2)

Last June, I blogged about my first attempt at capturing a shot of our own galaxy – the Milky Way. Earlier in September I headed out again into the wild on a dark moonless night, for another round of astro photography. This time around I had high hopes of getting a shot of the Andromeda galaxy, the nearest galaxy to our own, which around September starts showing up in the early night hours just above the horizon. Unfortunately I failed miserably, as the lens and technique that I ended up using, didn’t really cut it.

The night however didn’t completely go to waste. Prior to my trip to Italy this summer, I mentioned that I had purchased a Sigma 10-20mm ultra wide angle lens. This lens is great for landscapes, but it is equally good when it comes to astro photography. At its widest setting (10mm), this lens can stay open for nearly 40 seconds on an APS-C camera such as my own, without capturing any trails. The trick here is that the closer you zoom into a star, the easier it is to detect the trail of the star caused by the earth’s rotation. Time is key here, because you want the shutter to stay open for a longer period of time so that you can record as much light (and hence more detail) as possible without at the same time capturing any trail.

Here is the result of my second attempt at the Milky Way with my new Sigma lens.

Milky Way - 1920c

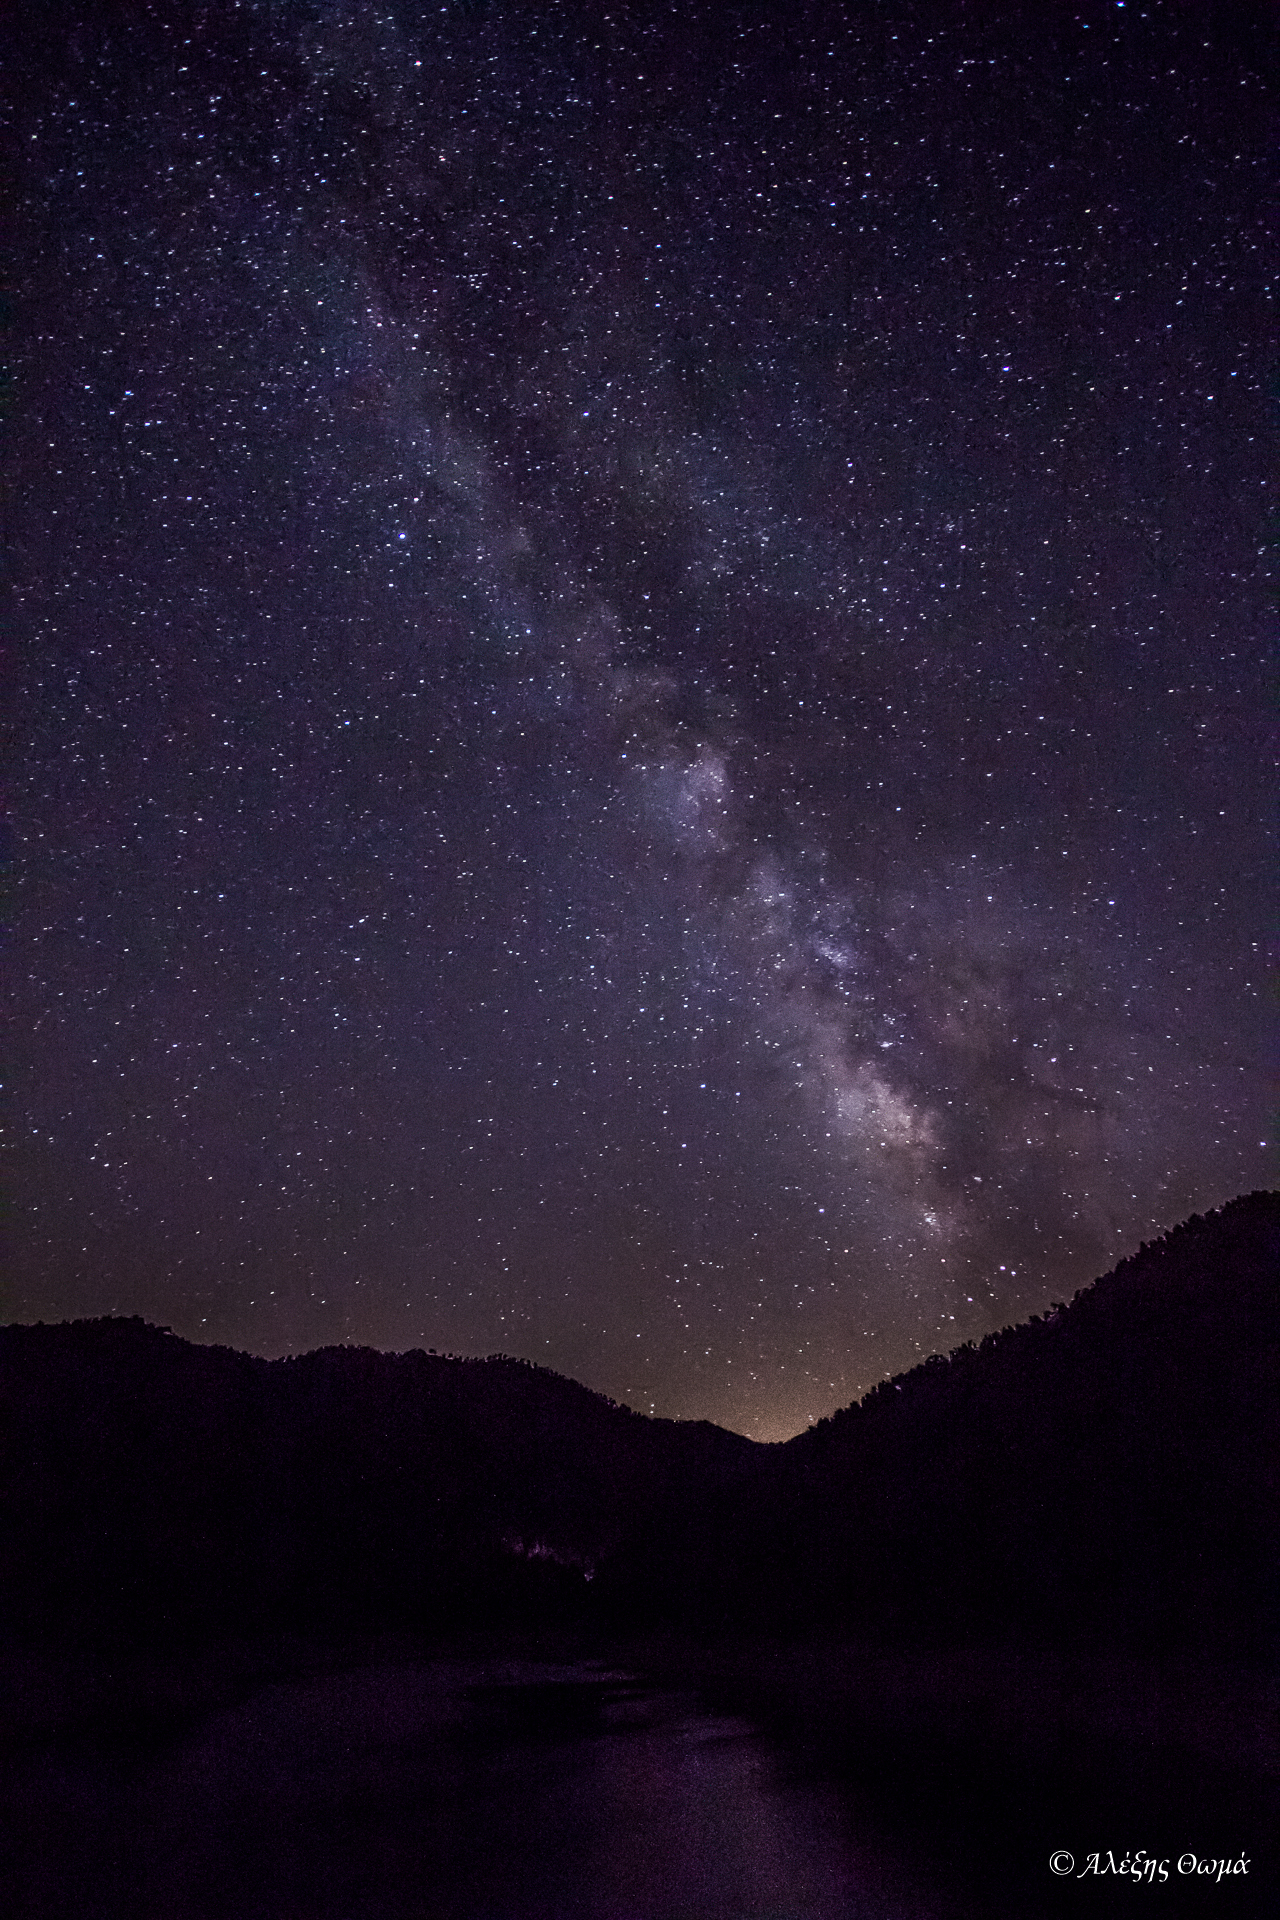
Shot with my Canon 60D and my Sigma 10-20mm F4-5.6 DC HSM lens, at ISO 3200, F4.0, 35 secs.

Advertisement

Exploring Astro Photography

I was invited a few weekends ago to join a couple of astronomy enthusiasts up in the mountains (Amiantos area) for some night-sky watching. After recently having read a couple of tutorials on star trail techniques, I was itching to give it a try.

For this first picture, I located the North Star (Polaris) just before it got completely dark. I set my camera with my Canon 24-70 F2.8L lens on my trusty tripod and took a couple of pictures to make sure my composition was correct. After being satisfied that I had everything where I wanted them to be, I set my camera to Manual mode and dialed my settings to ISO 400, F2.8 with a 30 sec exposure. What followed was an excruciating hour and a half, where I manually took 140 consecutive pictures using my remote cable release (guess who just ordered an intervalometer!). These images were later stacked together using a simple freeware program I downloaded from www.startrails.de and then imported the image into Photoshop for some minor touches (contrast and sharpness).

The second picture was taken facing South East – same settings, slightly less painful shooting procedure as I only took about 75 images. 

Overall I must admit that I am pretty happy with the outcome. Key takeaways from this exercise however are:
1) A trusty intervalometer (though not a must) is definitely good to have. You just set it and then hide in your car with a warm cup of coffee while it’s doing its job. It’s not very costly (30-50 euros will get you a decent one), and it can be used not just for astro photography but for time lapse videos as well.
2) Dress warm! I completely underestimated the weather that night. Even though it was the end of May, temperatures up in the mountains can be as low as 5-6 C during the night. A warm jacket and a pair of gloves are definitely a must!